Description
Making a chess set has been a lifelong goal. Not buying one, making one. Every piece, designed from scratch, printed by hand. After years of owning and playing on other people’s boards, I finally sat down and did it.
The project took about a month from first sketch to final print, and involved teaching myself Shapr3D from scratch. The longest stretch wasn’t the design work, it was getting my Elegoo Mars 3 Pro resin printer to cooperate in a cold garage.
Design
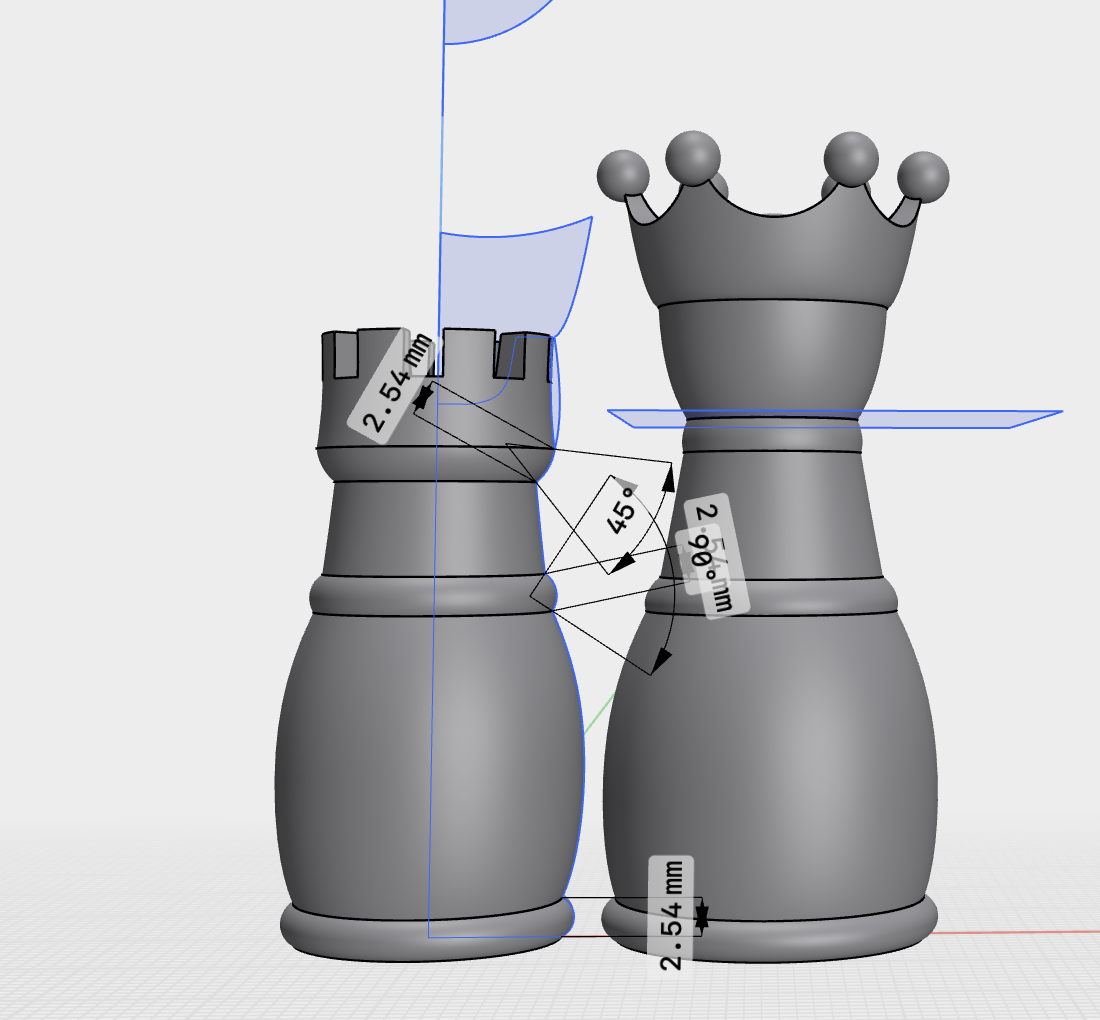
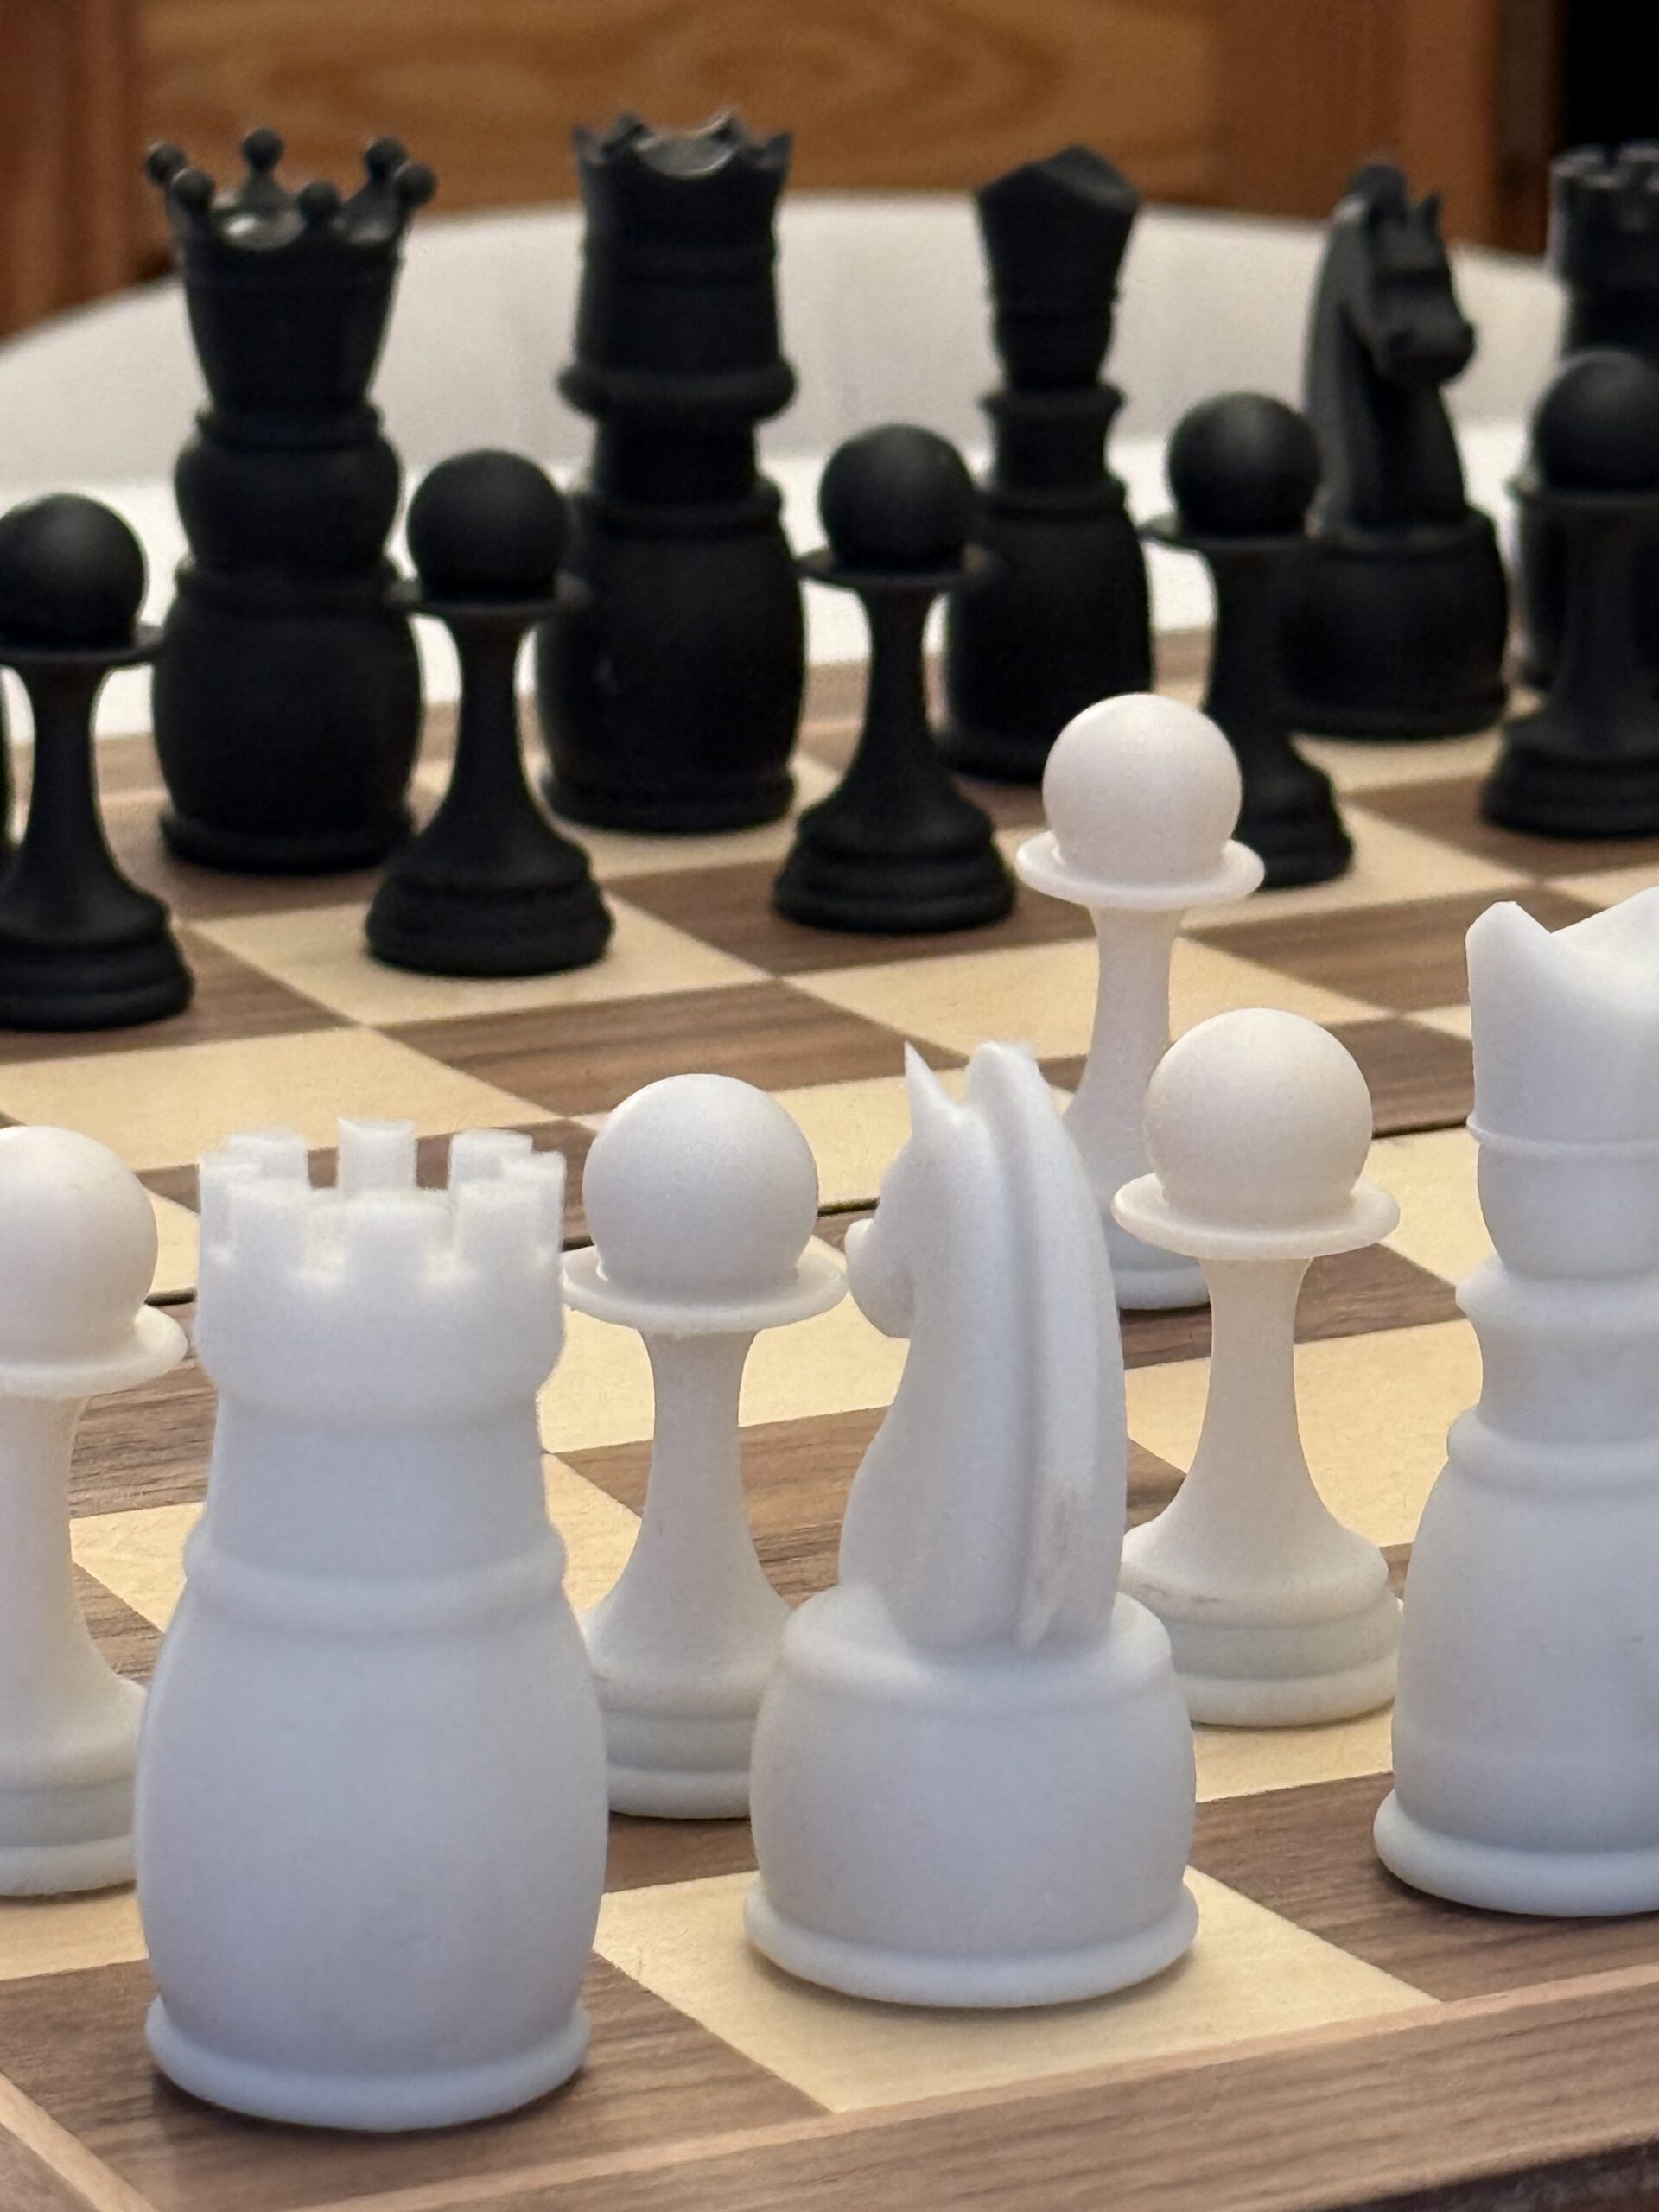
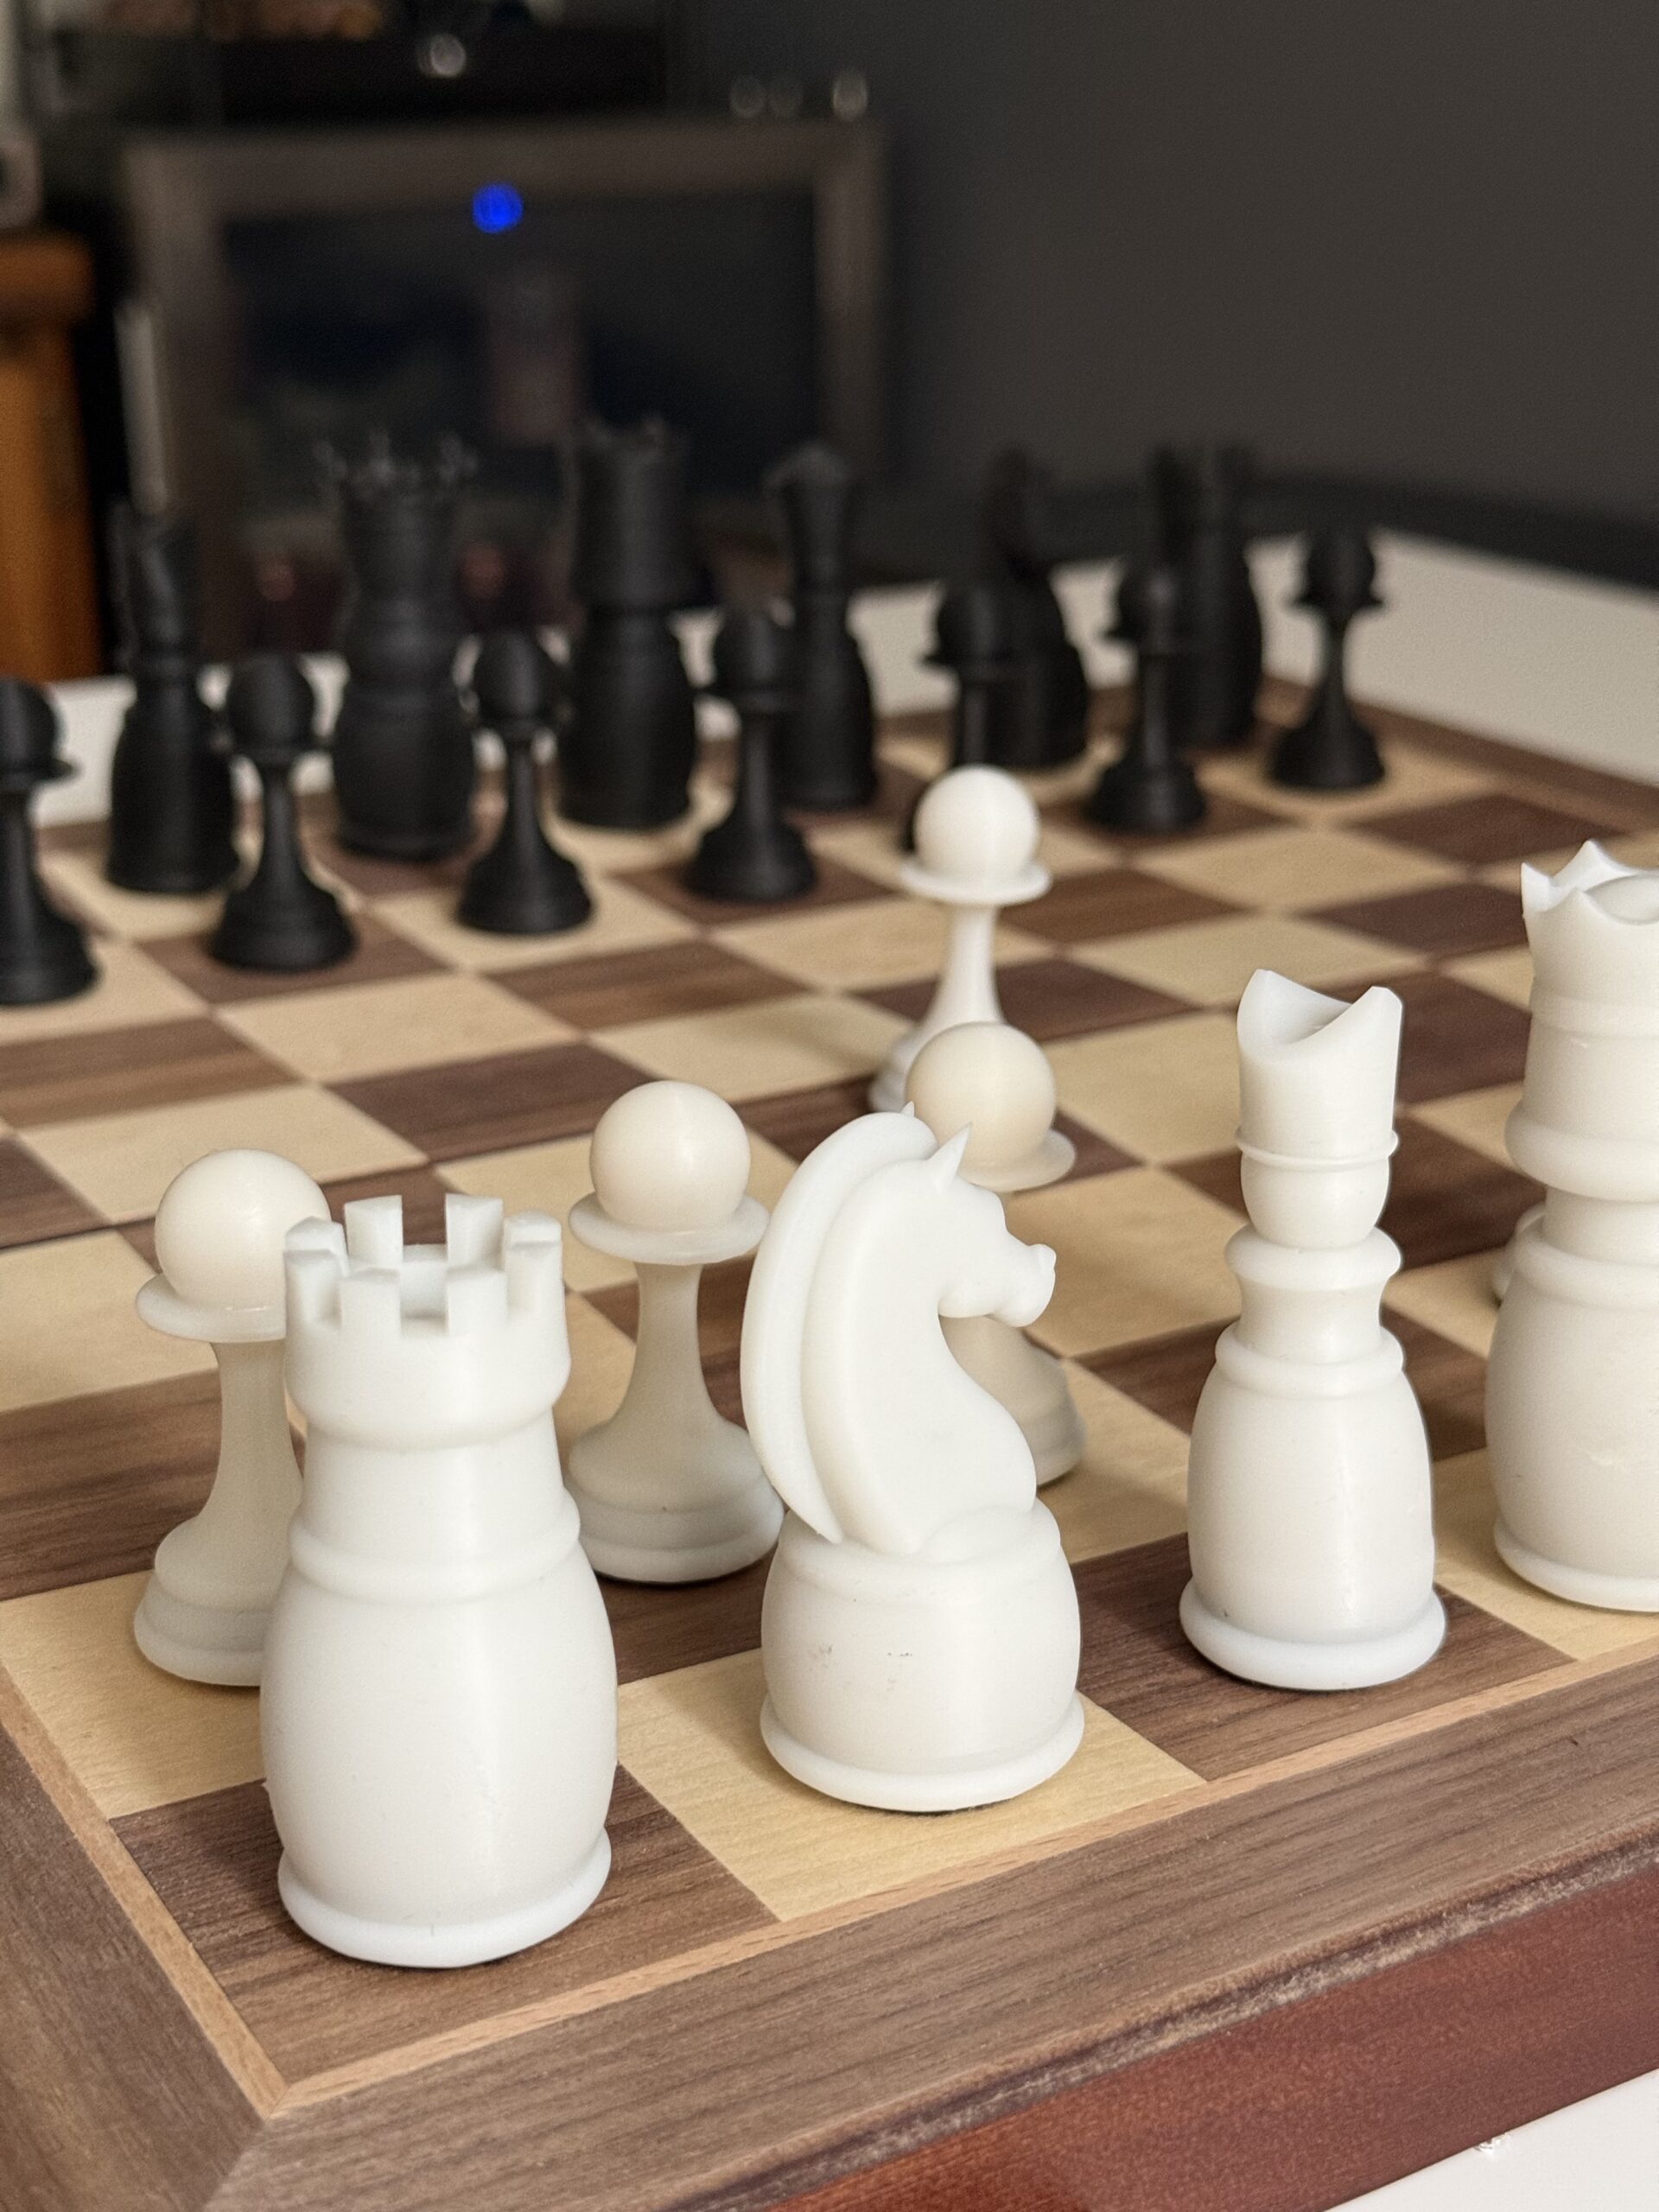
All six piece types were modeled in Shapr3D. I had no specific design reference going in, the style evolved naturally through the process, landing on something clean and rounded with a modern feel. Shapr3D is built around precise geometric modeling, which worked well for most pieces. The rook, queen, king, bishop, and pawn all came together through revolution, boolean operations, and careful dimensioning.
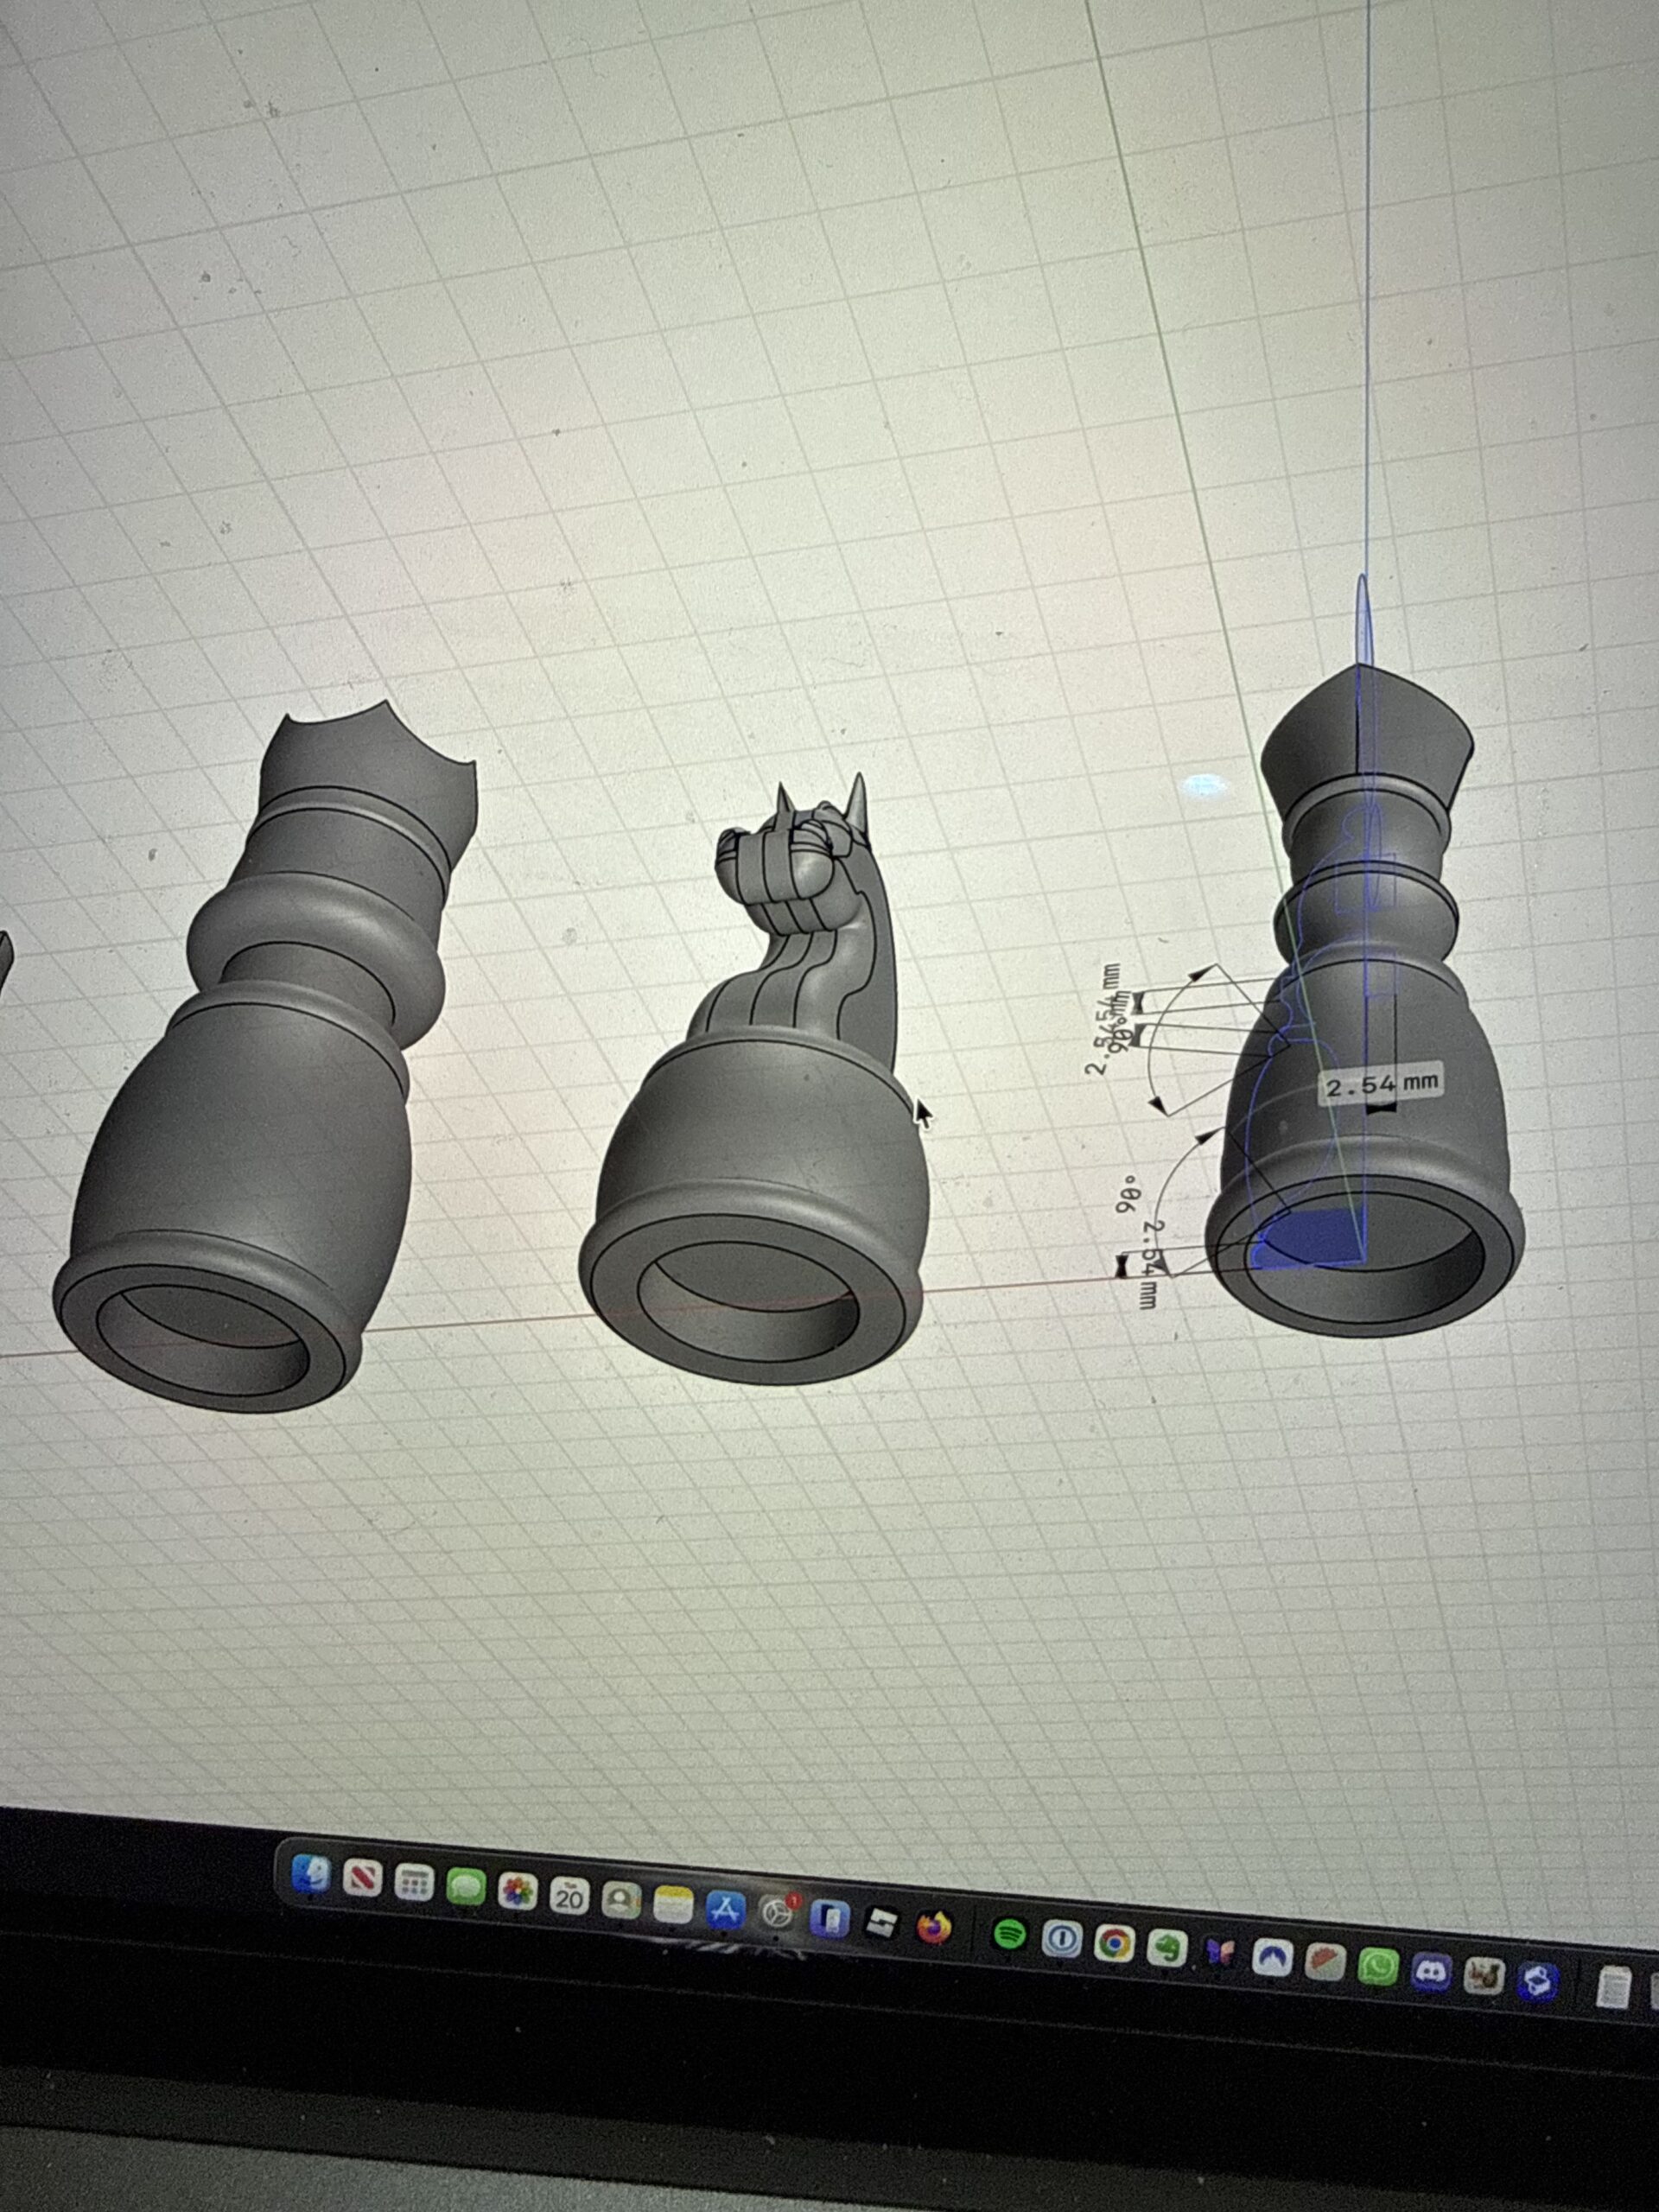
The knight was a different story. Shapr3D isn’t designed for organic shapes, and a chess knight is almost entirely organic. Getting the horse head to read clearly while still being printable took significantly more iteration than any other piece in the set.
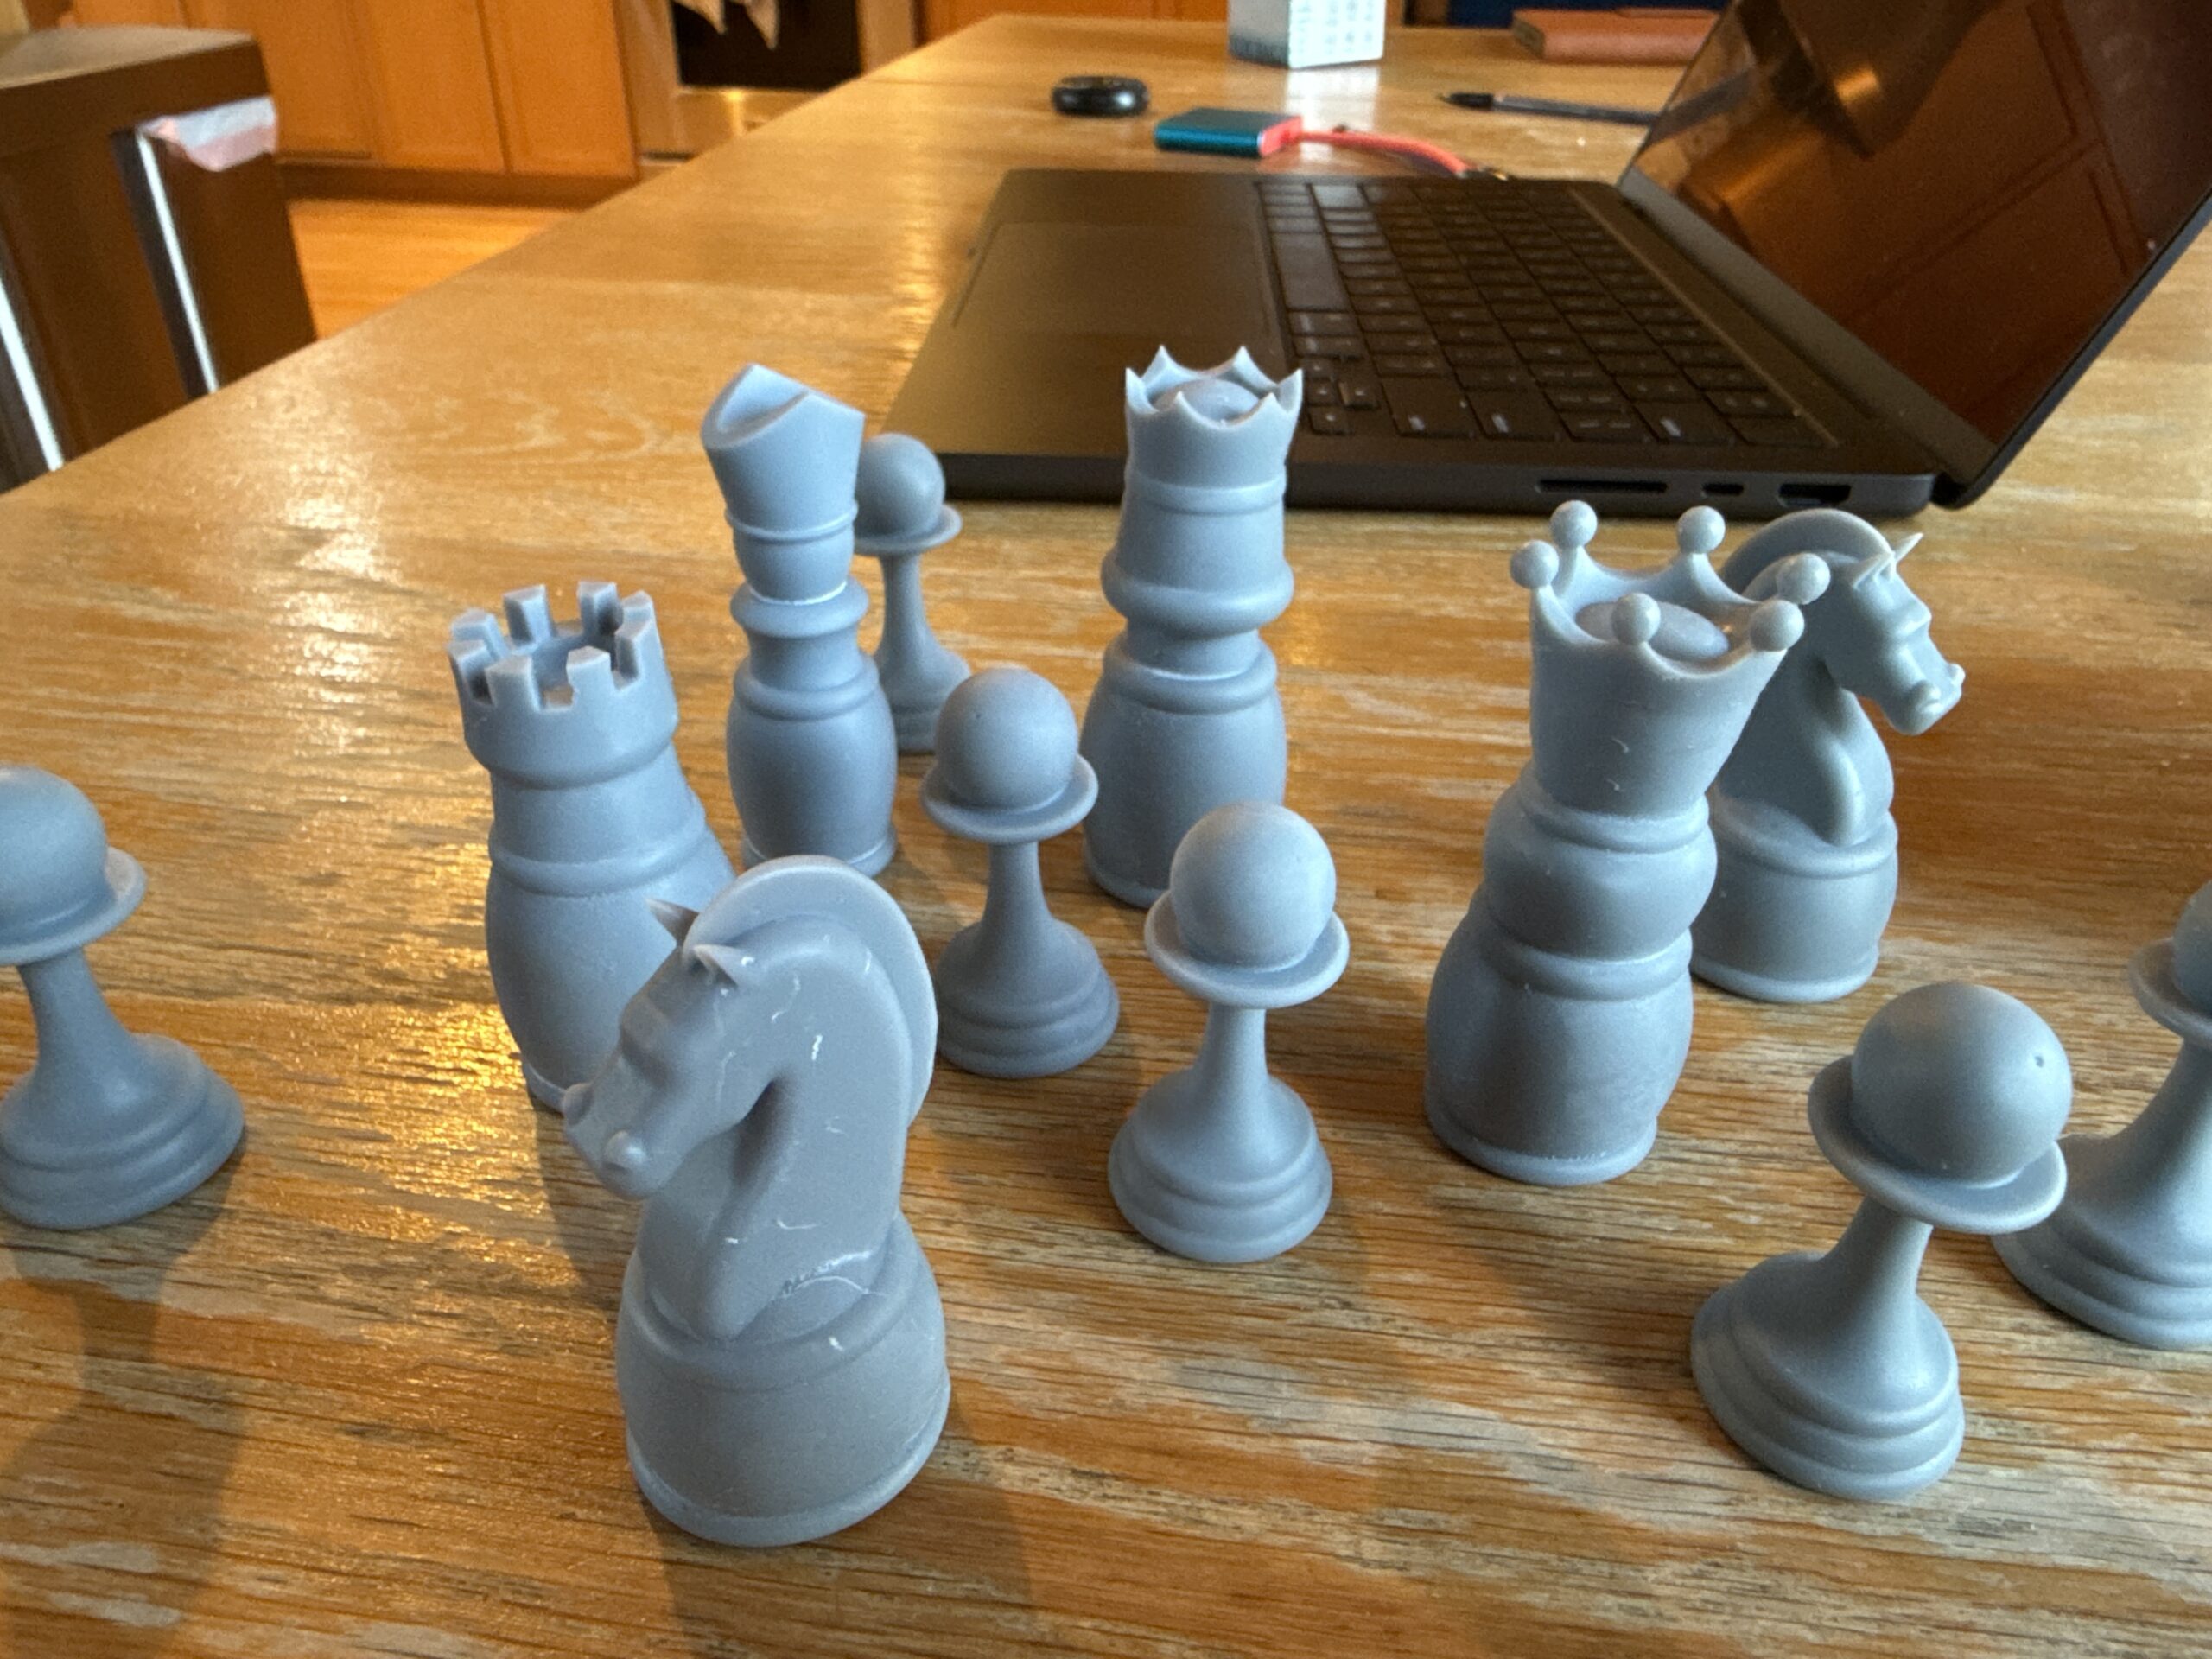
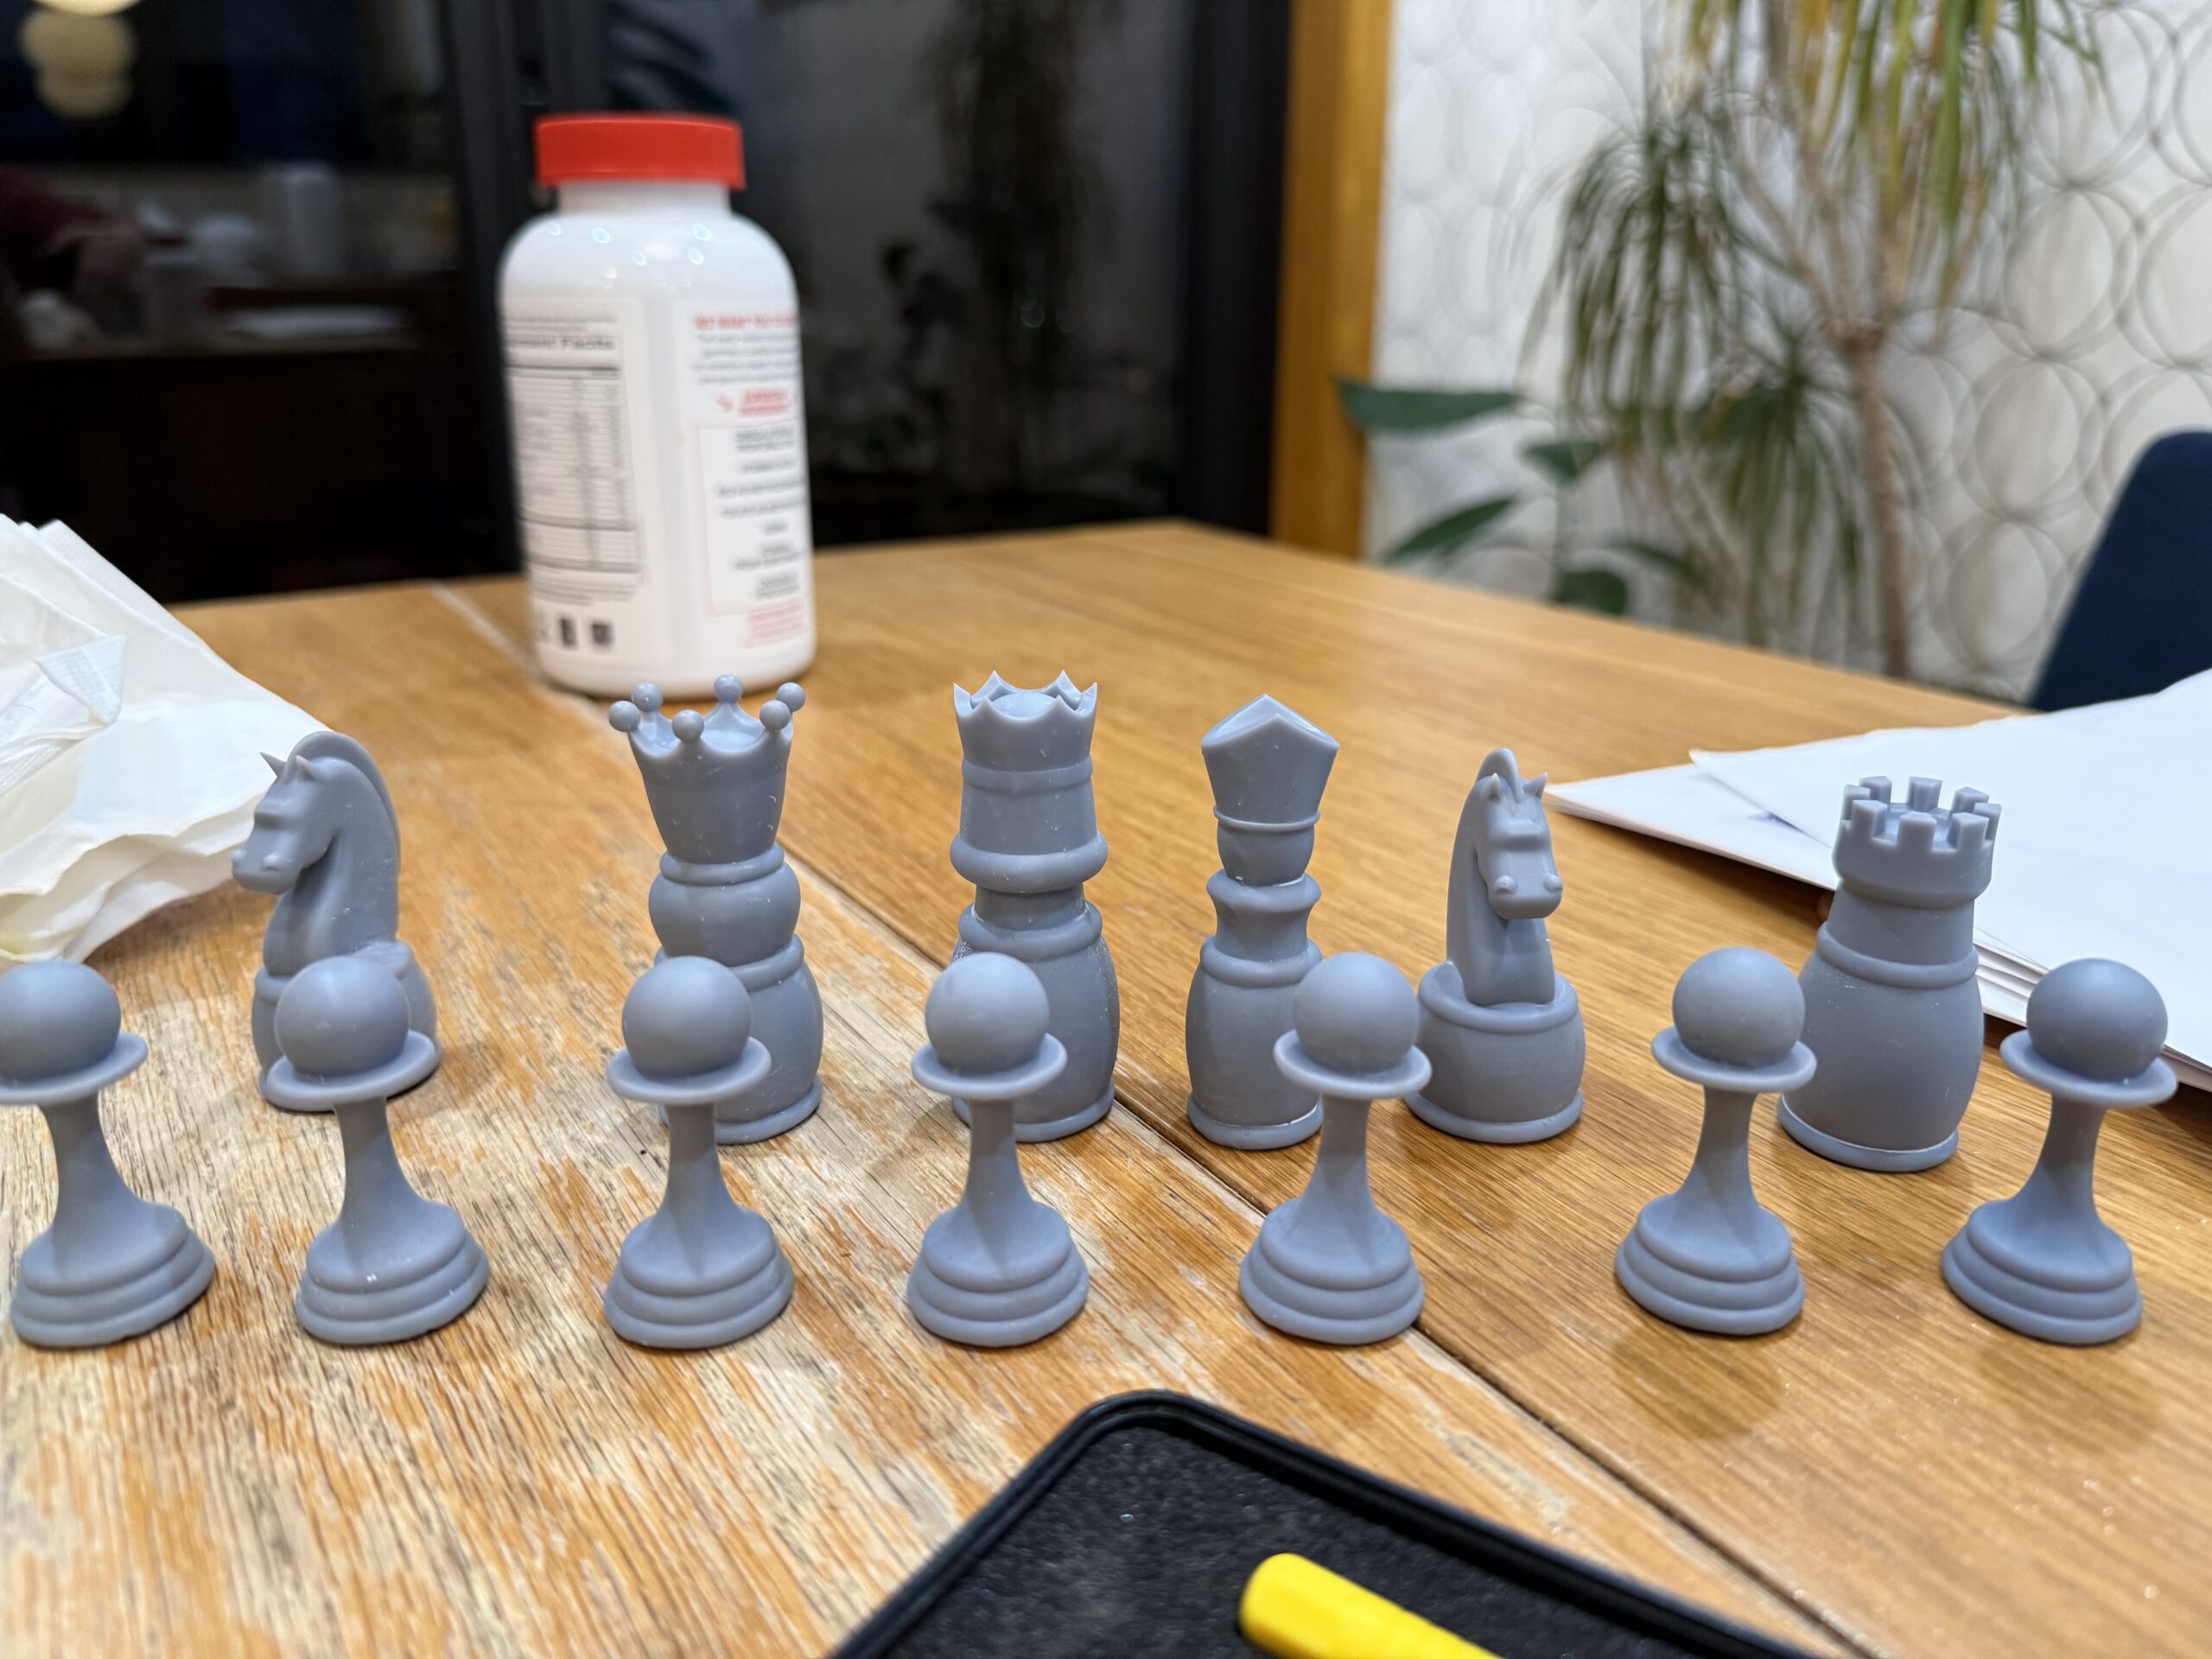
Test Prints
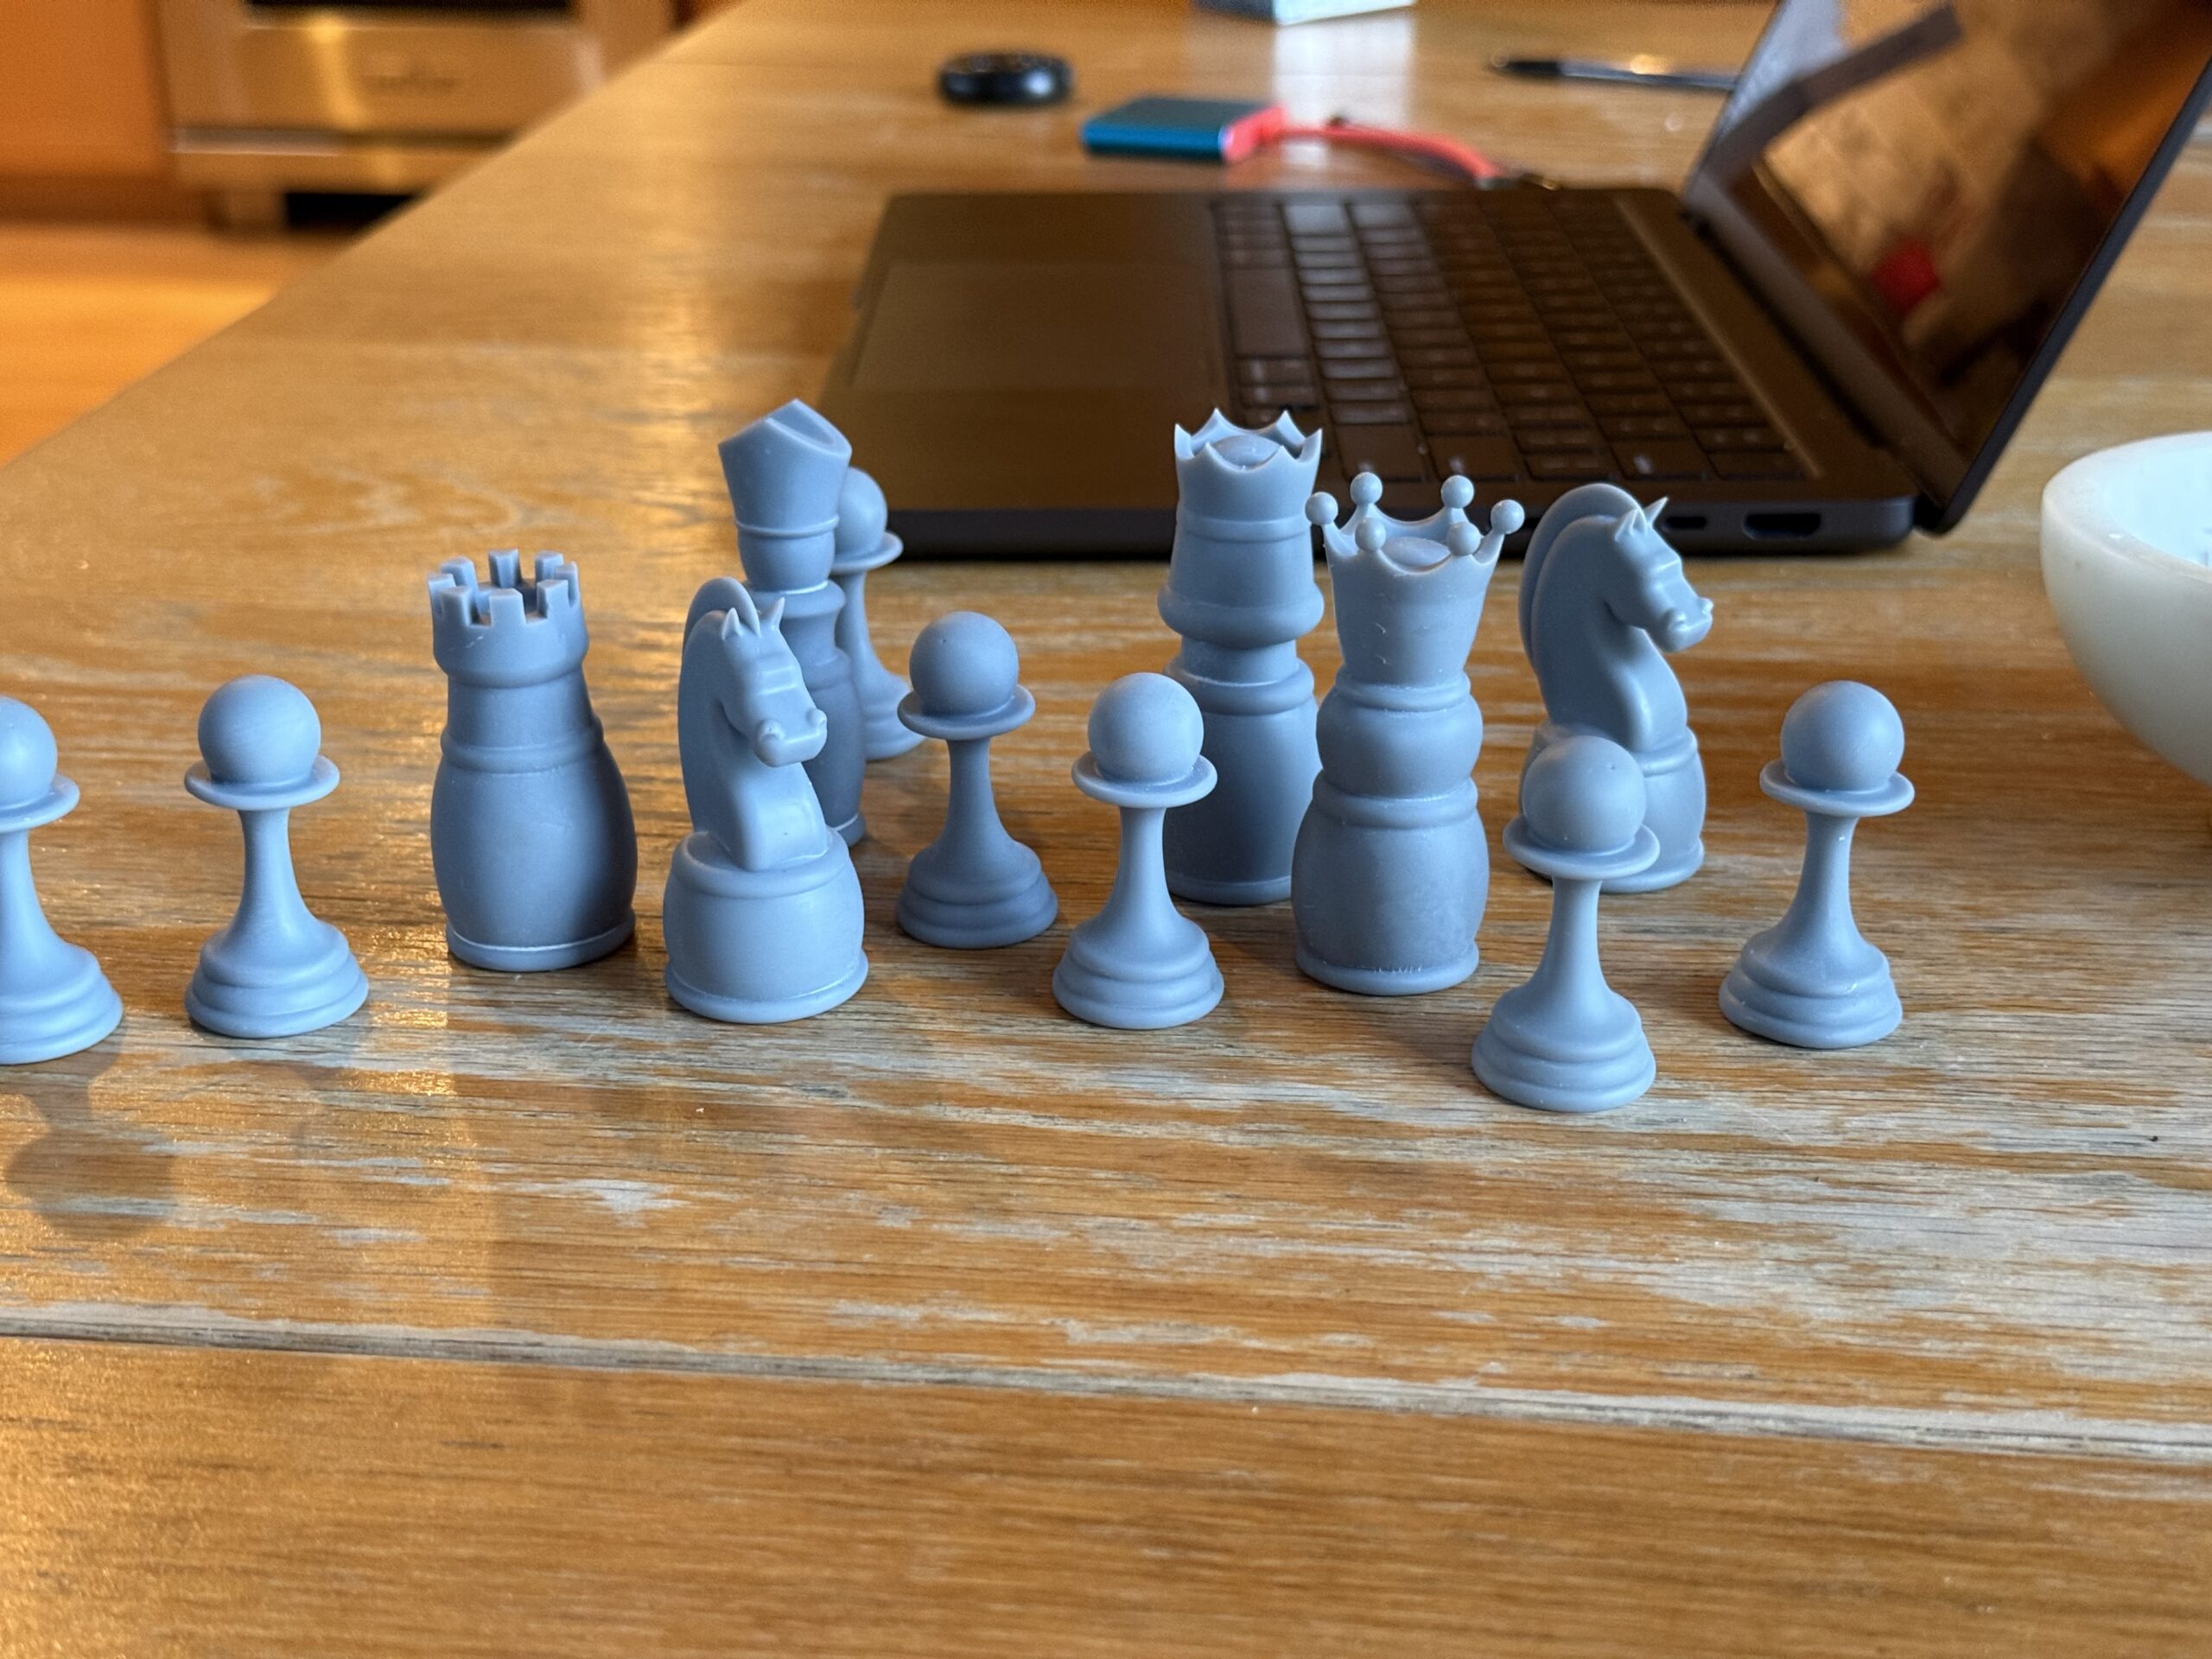
Before committing to a full set in both colors, test prints were run to check scale, proportion, and printability. Resin printing is temperature-sensitive, and the cold garage turned out to be as much of a challenge as the design work, getting consistent results required managing the print environment as much as the printer settings.
Final Product
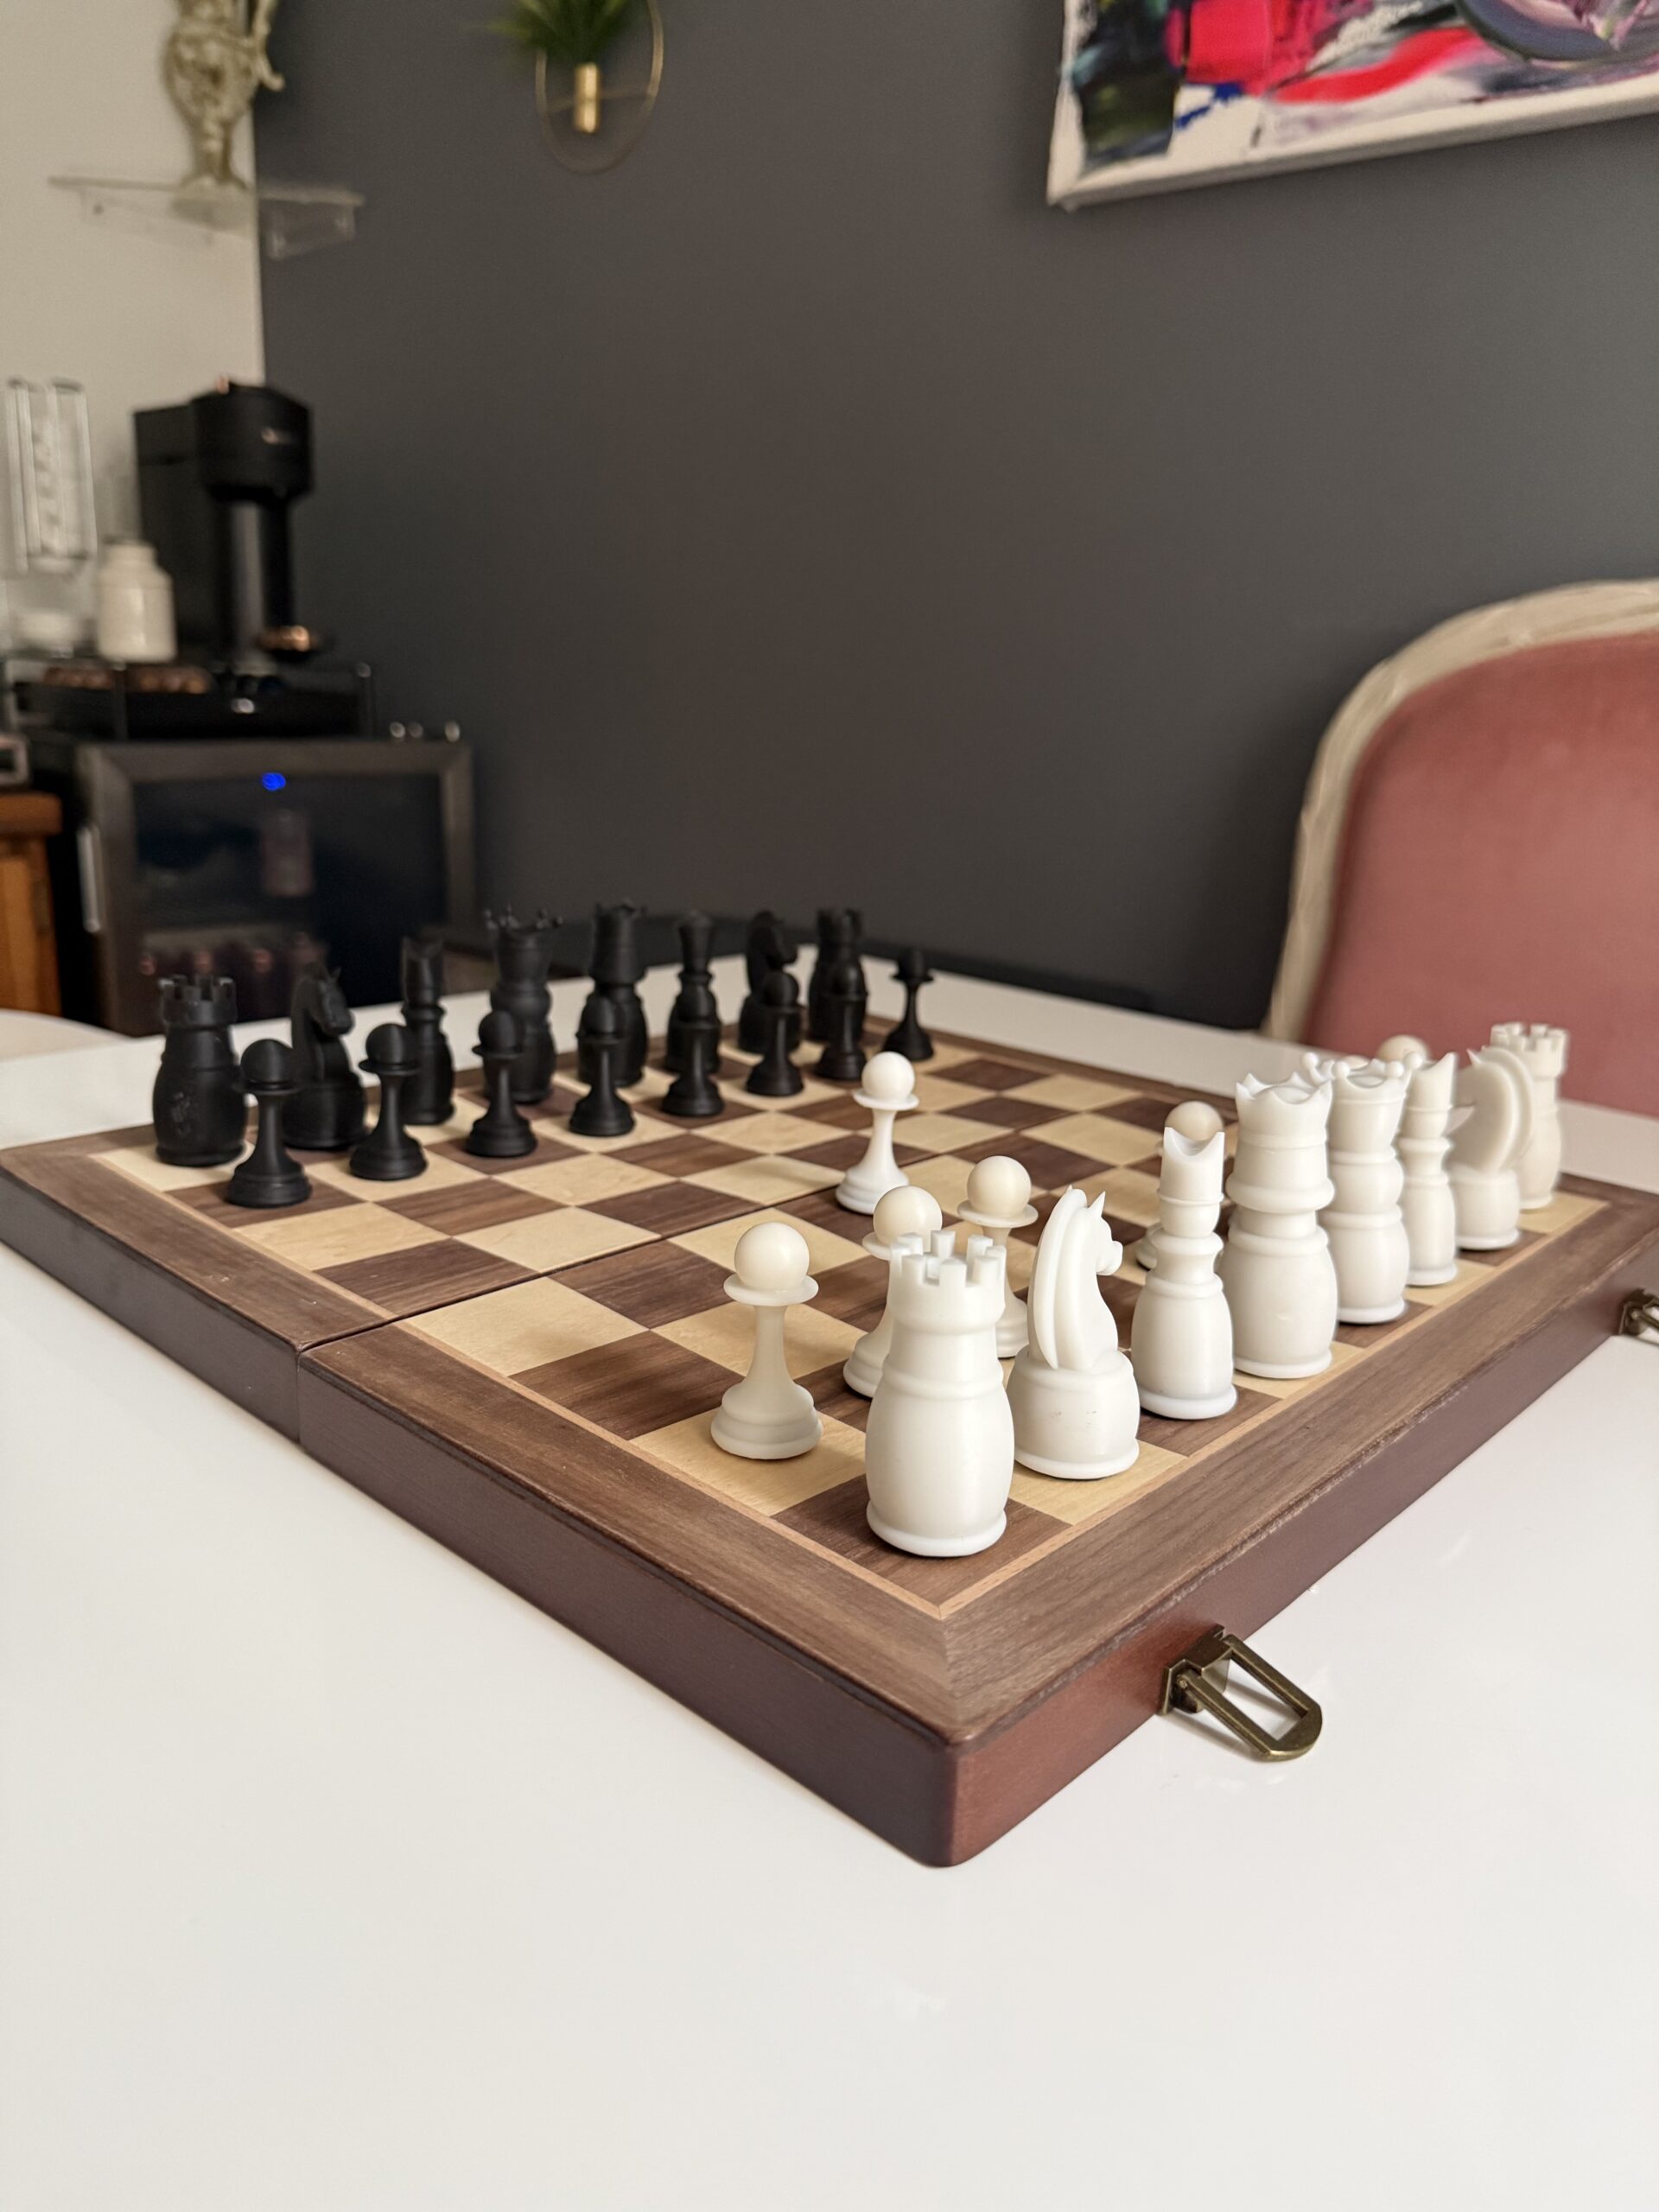
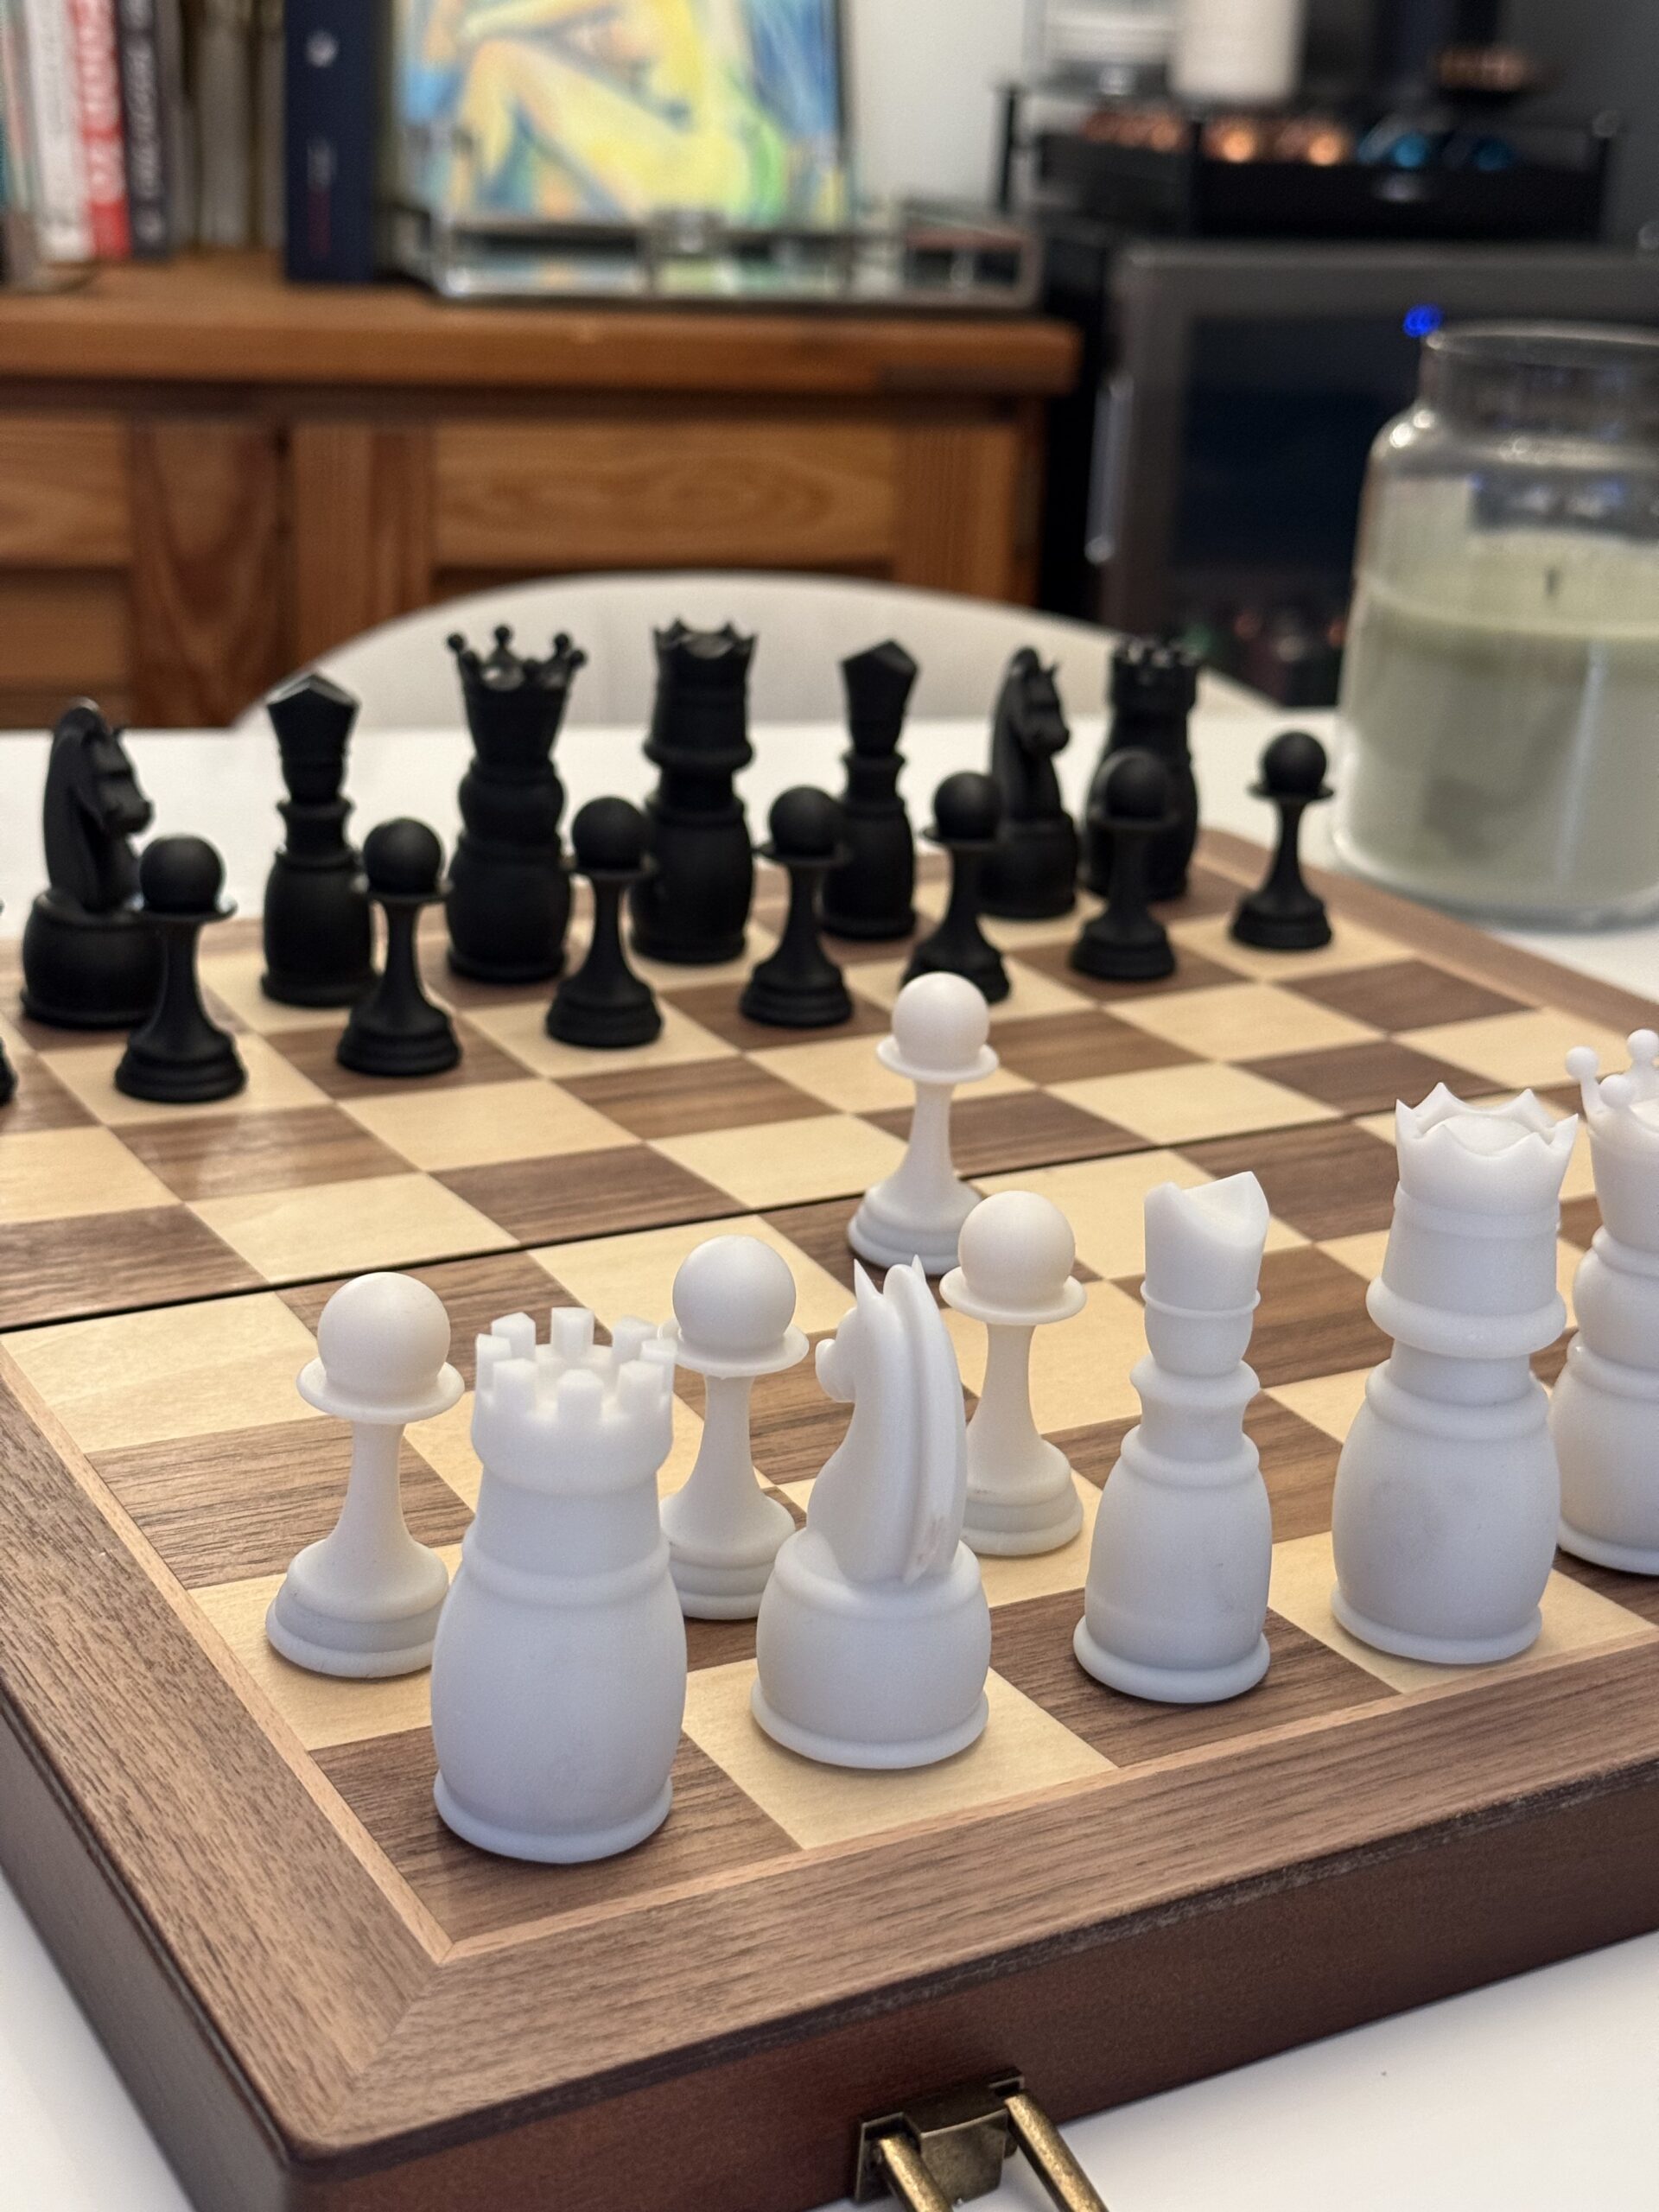
The completed set was printed in two resin colors, black and white, on the Elegoo Mars 3 Pro, then placed on a purchased wooden board. Printing both full sets of pieces took several runs, with the cold garage still making itself known throughout.
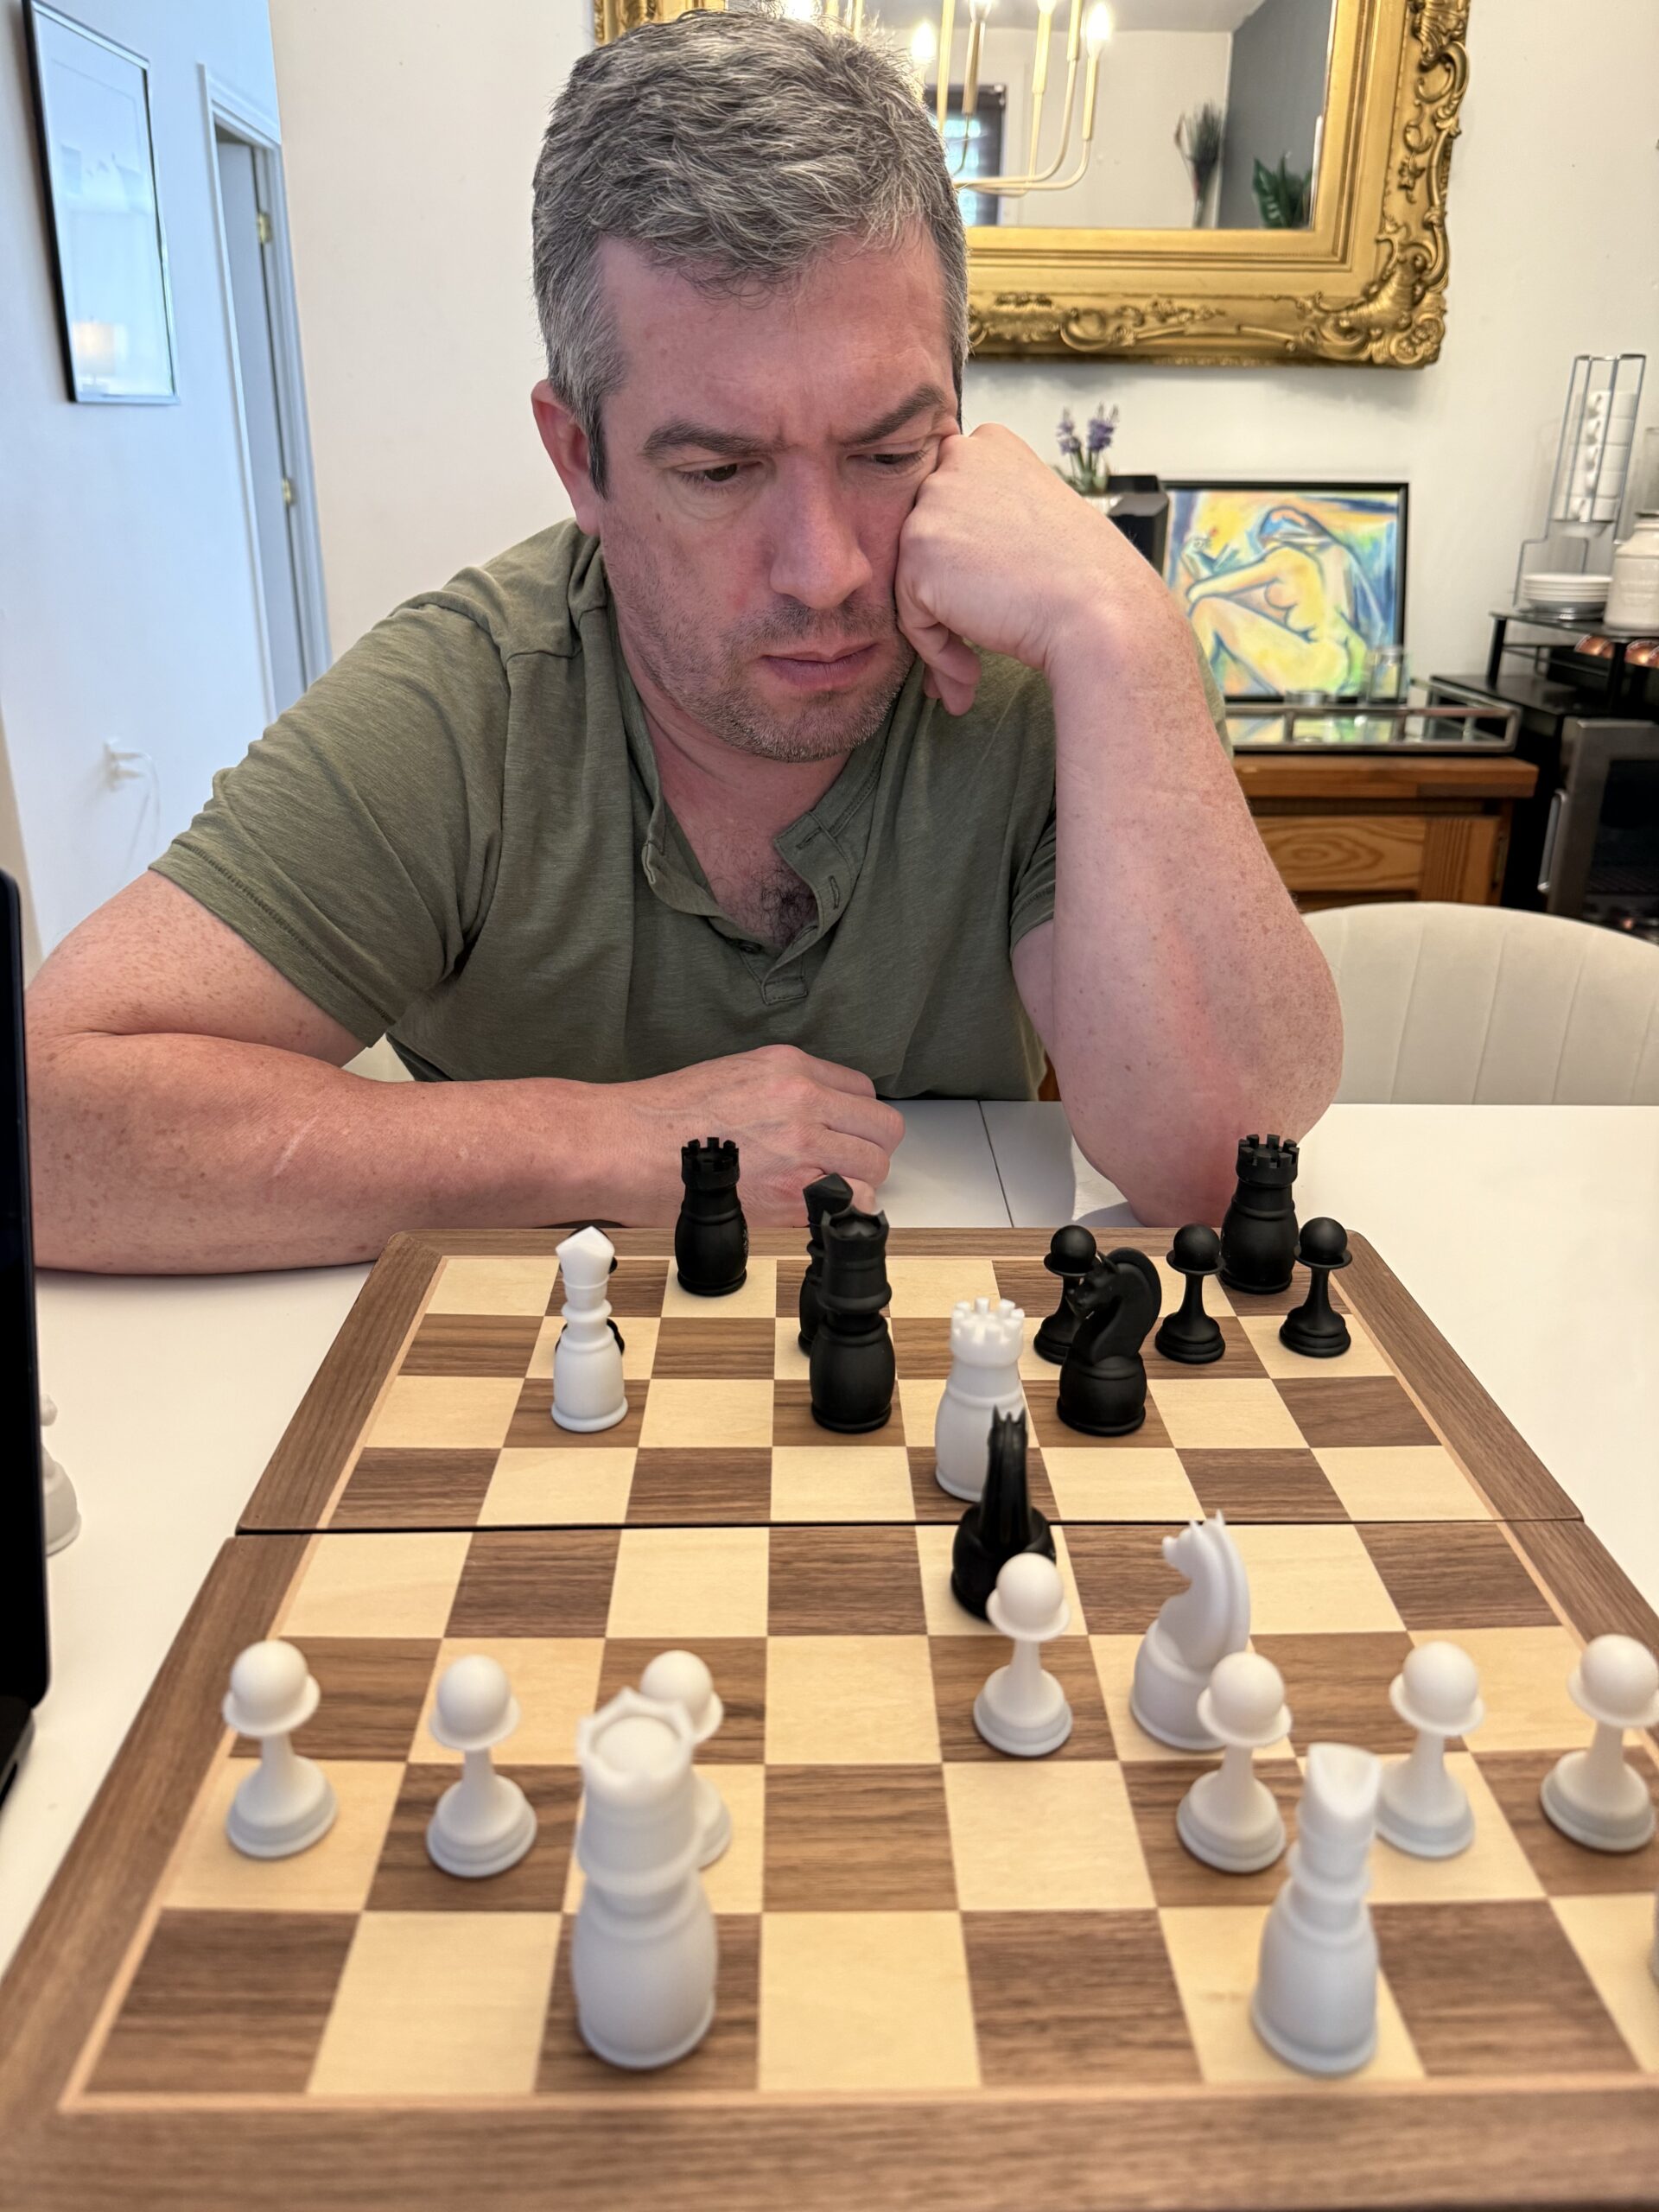
Seeing a full set of pieces I designed and printed myself set up and ready to play was satisfying in a way that’s hard to describe. This one was worth the wait.